How to Self-Host Your Own Docker Registry with Harbor

How to Self-Host Your Own Docker Registry with Harbor

2 min read
#software#harbor#docker

Self-Hosting a Private Docker Registry with Harbor

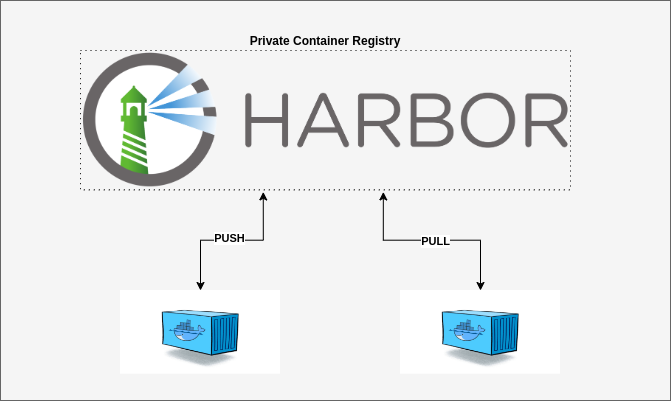
If you want a production-ready private Docker registry with a UI, vulnerability scanning, RBAC, and S3 storage support, Harbor is one of the best open-source solutions.

In this guide, we’ll set up Harbor using Docker Compose, Nginx, HTTPS, and AWS S3.


What We’re Building

Internet
   │
   ▼
Nginx (HTTPS)
   │
   ▼
Harbor
   │
   ├── PostgreSQL
   ├── Redis
   ├── Registry
   └── Trivy Scanner
   │
   ▼
AWS S3

Prerequisites

You need:

Install Docker:

curl -fsSL https://get.docker.com | sh

Download Harbor

wget https://github.com/goharbor/harbor/releases/download/v2.14.4/harbor-online-installer-v2.14.4.tgz

tar -xvzf harbor-online-installer-v2.14.4.tgz
cd harbor

Configure Harbor

Copy config:

cp harbor.yml.tmpl harbor.yml

Edit:

nano harbor.yml

Use something like:

hostname: registry.example.com

http:
  port: 4949

external_url: https://registry.example.com

harbor_admin_password: StrongPassword

storage_service:
  s3:
    region: eu-north-1
    bucket: my-harbor-bucket
    accesskey: ACCESS_KEY
    secretkey: SECRET_KEY
    regionendpoint: https://s3.eu-north-1.amazonaws.com
    chunksize: 5242880
    rootdirectory: /my-harbor

rootdirectory ensures Harbor stores everything under:

my-harbor-bucket/
  my-harbor/

Install Harbor

Prepare configs:

sudo ./prepare

Install Harbor:

sudo ./install.sh

Start Harbor:

docker compose up -d

Verify:

docker ps

Fix Common Docker Conflict

If you get:

Conflict. The container name "/redis" is already in use

Remove or rename container_name: entries inside docker-compose.yml.


Configure Nginx

Create:

sudo nano /etc/nginx/sites-available/registry.example.com

Add:

server {
    listen 80;
    server_name registry.example.com;

    return 301 https://$host$request_uri;
}

server {

    listen 443 ssl;
    http2 on;

    server_name registry.example.com;

    ssl_certificate /etc/letsencrypt/live/registry.example.com/fullchain.pem;
    ssl_certificate_key /etc/letsencrypt/live/registry.example.com/privkey.pem;

    client_max_body_size 0;

    proxy_request_buffering off;
    proxy_buffering off;

    proxy_read_timeout 3600s;

    proxy_set_header Host $host;
    proxy_set_header X-Forwarded-Proto https;
    proxy_set_header X-Forwarded-Port 443;

    location / {
        proxy_pass http://127.0.0.1:4949;
    }
}

Enable site:

sudo ln -s /etc/nginx/sites-available/registry.example.com /etc/nginx/sites-enabled/

Test:

sudo nginx -t
sudo systemctl reload nginx

Generate SSL Certificate

Install Certbot:

sudo apt install certbot python3-certbot-nginx

Generate SSL:

sudo certbot --nginx -d registry.example.com

Access Harbor

Open:

https://registry.example.com

Default credentials:

Username: admin
Password: Harbor12345

Push Your First Docker Image

Login:

docker login registry.example.com

Tag image:

docker tag nginx:latest registry.example.com/library/nginx:latest

Push image:

docker push registry.example.com/library/nginx:latest

Verify S3 Storage

Inside S3 you should see:

my-harbor-bucket/
  my-harbor/
    docker/
      registry/

Useful Tips


Resources